Sharpie Mugs – How to Make a Custom Mug with a Sharpie
There is nothing more fun than being able to customize your own mugs with your own designs, sayings and more! Just learn how to make a custom mug with a sharpie. Check out these fun Sharpie Mugs!
There is nothing more fun than being able to customize your own mugs with your own designs, sayings and more! Don’t go to the expense of having them printed. Just learn how to make a custom mug with a sharpie.
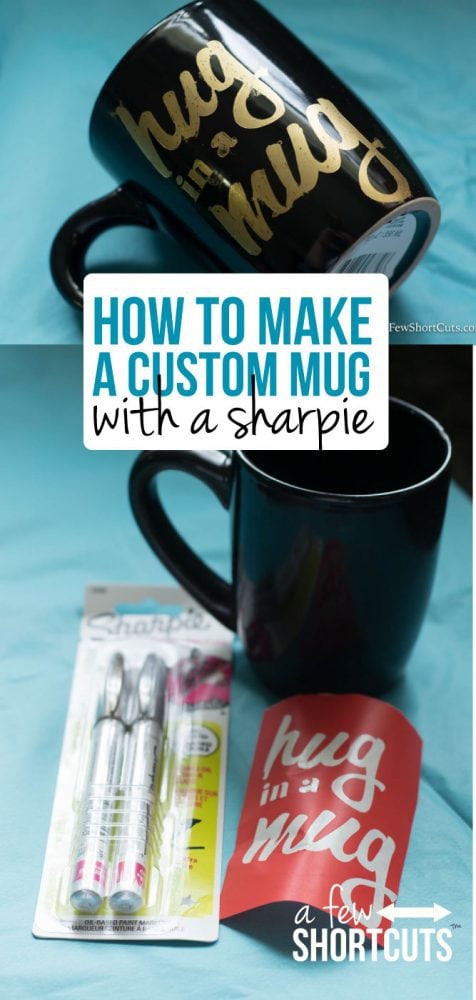
The key to these is to use an OIL BASED SHARPIE!!! Regular sharpies won’t withstand the dishwasher or the test of time. These oil based sharpies will!
Sharpie Mugs
What you will need
- Coffee Mug (Head to the dollar store!)
- Sharpie Oil Based Marker
- stencil if desired (I made my own)
- Oven
How To
I cut out a stencil using my silhouette machine because ….well…..my handwriting sucks. LOL I didn’t want to mess this up. I then positioned it on my mug. I have seen this done with store bought stickers too!
I colored it in with the oil based sharpie and pulled off the sticker stencil. Clean up the edges with a q-tip that has finger nail polish remover on it. Once you have the design you want.
Place your mug or mugs in the oven. With the sharpie mugs in the oven preheat it to 350 degrees F then bake for 30 minutes. When the 30 minutes is up turn the oven off leaving the mugs in the oven to cool. This will insure the design is set and will not crack.
When you are finished you will have an adorable…cost effective, sharpie mugs that are dishwasher safe!


