How to Make Custom Shirts
Do you have a vinyl cutter like the Silhouette or Cricut? You have to check out How to Make Custom Shirts. It’s so easy!!! Don’t let this craft project scare you!

Y’all it is on like Donkey Kong. Today is my craft day. Many Saturdays I sit around and think up stuff to make. Some of it is for fun with the kids, some end up on the blog, some are just such a fail they head to the trash.

I ran into Walmart the other day for a few things ( hey, I don’t do it often), and I found these hanes kids tees for only $3. I snagged a plain purple one cause I knew I wanted to try my hand at t-shirt making.
How to Make Custom Shirts
I sat down today and made this simple “Cute Chick” design on my Silhouette Design Software for my 7-year-old. I had no expectations other than to learn how not to mess it up next time. LOL

First thing not to mess it up. The design needs to be cut a mirror image of how you want it to appear on the shirt. Not really a big deal for designs, but a huge deal for words. Just head to the menu and select Object – Reciprocate – Mirror Right.

I then deleted the image I wasn’t going to use. I proceeded to cut out the design on my silhouette portrait one color at a time on the HTV (Heat Transfer Vinyl). PS: If you have never seen the heat transfer vinyl you should check out Expressions Vinyl. They have a huge selection in all kinds of colors and styles.
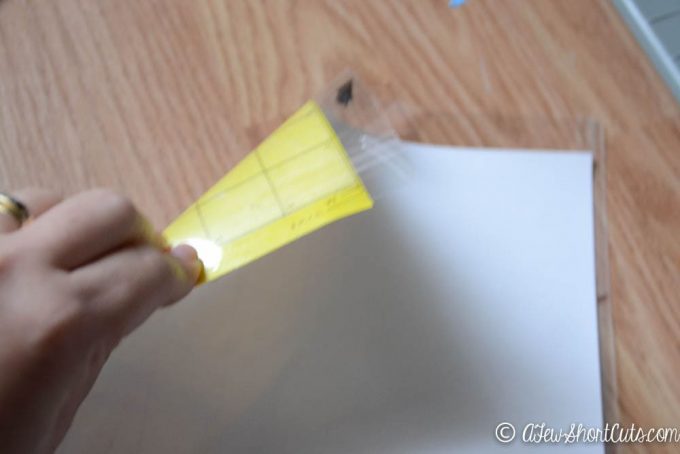
Tip #2: Sorry it is blurry. You are going to put the heat transfer vinyl color side or shiny side down on the mat. Yes, this is counter-intuitive, but trust me.
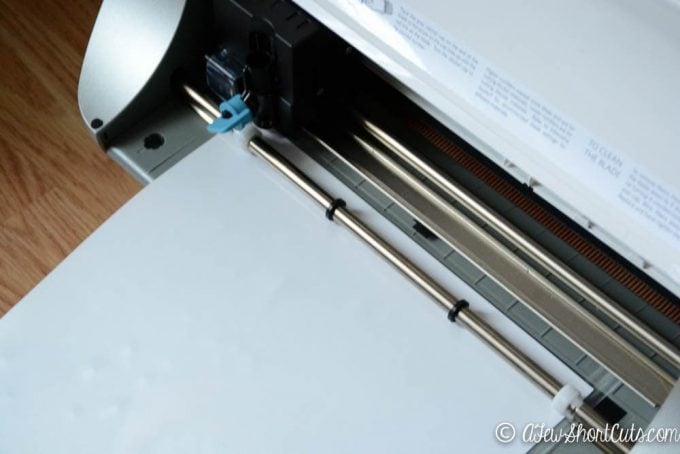
Load it into your vinyl cutter and let it do its job. 🙂
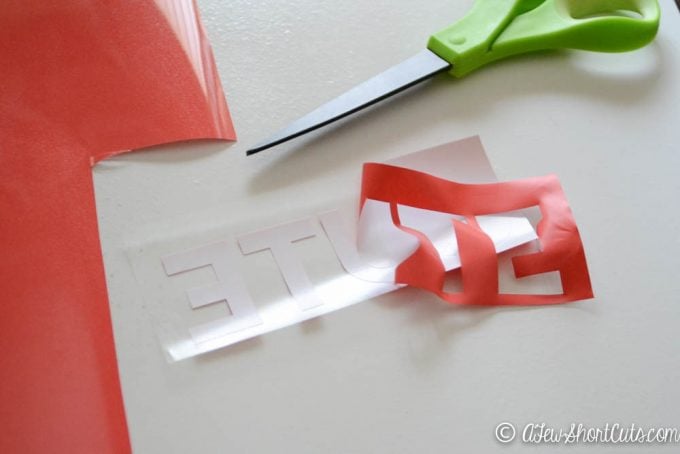
When you remove it peel off the excess vinyl. You can see that your design is on a clear sheet. That is good. Leave it there.
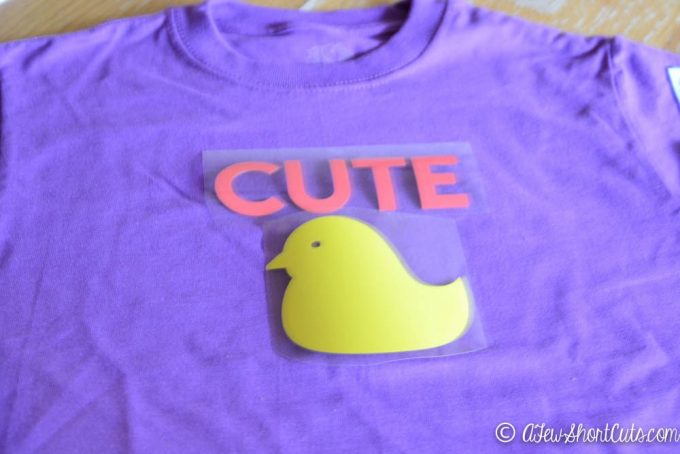
Now position your design on your t-shirt or really any fabric you decide to place it on. Don’t push down until you are 100% certain that is where you want it.
Once you have pushed it into place. Place a thin piece of fabric over it. Turn your iron onto high heat, but NO STEAM! I repeat NO STEAM. There may have been a failure due to steam…just saying.

Iron…Iron…and then Iron a little more. Applying pressure the entire time. Of course, you could get one of these fancy Heat Presses, but I’m not that fancy yet.
No carefully peel up the plastic cover. If your design lifts…just put that plastic back down, cover it with fabric and iron some more.

When you are done you will have a fabulous t-shirt that is washer & dryer safe! Score! You just learned how to make custom shirts!

This Cute Chick approves of her custom shirt!


nice and useful and kind of looks like fun.
adorable thanks for the tutorial!