How to Make Custom Wooden Farmhouse Signs
Skip ordering from ETSY and learn How to make custom Wooden Farmhouse signs with your favorite sayings to decorate your home.
I am in LOVE with custom wooden farmhouse signs. You know the ones you see on Etsy and Instagram and dream about all the ones you need for your house? LOL Those cute little boogers are so expensive to buy but super cheap to make on your own. Take a weekend and make a few signs that you have been wishing for.
How to Make Custom Wooden Farmhouse Signs
You Will Need
- 1 x 2 Wood for Frame only $0.95 for 8 ft piece
- Plywood or MDF cut to the size of your sign
- Wood stain for frame
- White paint (or desired color for sign)
- Black paint (or desired color for lettering)
- Wood Glue
- Nail Gun
- Vinyl Stencil or Vinyl cutter to make your own.
- Mod Podge Matte
- Paint Brush
How to
Before you begin you need to decide how big of a custom wooden farmhouse sign you want to make. Once you have a size in mind you will know how big you need to cut your 1×2 for your frame and the plywood or MDF backing. Home Depot and Lowes will actually cut this for you when you purchase it free of charge. I do have a small Rockwell Blade Runner Saw that is perfect for small projects like this so I just cut my own.
Keep in mind that these frames are meant to be rustic. We aren’t doing mitered corners (although you could). We are just squaring them up.

Once your parts are cut, sand everything thoroughly.

After it is sanded you can stain your frame and paint your plywood your desired color. I chose a walnut stain for my frames and white paint for the background. Let your paint and stain dry all the way. Overnight preferably.
Vinyl, Freehand, or Stencil

If you have a Vinyl Cutter this project just got a LOT easier. If you don’t, you can purchase pre-cut vinyl and vinyl stencils online. I have also seen people freehand, but I am not that talented. I love having the freedom to cut my own sayings for my signs any size I want with my Vinyl Cutter. One of the many reasons I recommend getting one if you craft!
No Paint Bleeding Trick
This method doesn’t have to only be used on solid board signs. You can also use this technique with pallet signs too! Place your vinyl stencil where you want it on your wooden sign. Make sure it is stuck down good. Now here is the trick of the day. Go over your stencil with a light coat of Mod Podge Matte. This will keep your stencil from bleeding when you paint over it.

Using black, or whichever color paint you choose, paint over your stencil. Peel back the vinyl once it has begun to dry to reveal your lettering. It makes the lines crisp, eliminates bleeding, and the best part is the Mod Podge is not visible when you are finished.

Once the paint and stain are completely dry you can assemble. Use wood glue and a nail gun to fasten the frame right onto the wooden board. Attach a picture hanger to the back and you are ready to decorate your house with any sign you can make!
The Carlisle & Co sign above went in my girl’s room for their British Bookstore room. The sign paired with the Rustic Farmhouse Headboards was just perfect!
Supply Tip
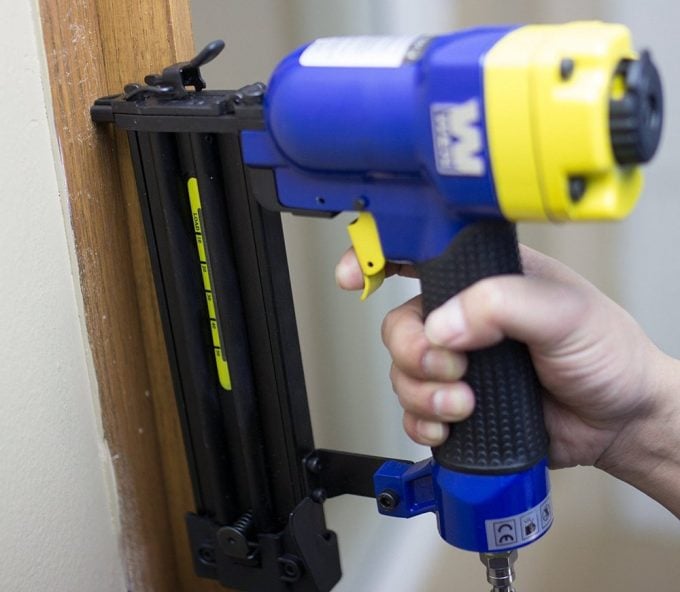
I fell in love with making these wooden farmhouse signs so I bought this Nail Gun that attaches to my husband’s air compressor. For the price, you can go wrong. This is super easy to use and I absolutely love it! Don’t be scared of power tools like this. They make your life easier!


awesome looking forward to trying