How to Make a Scrunchie – Easy DIY Sewing Project
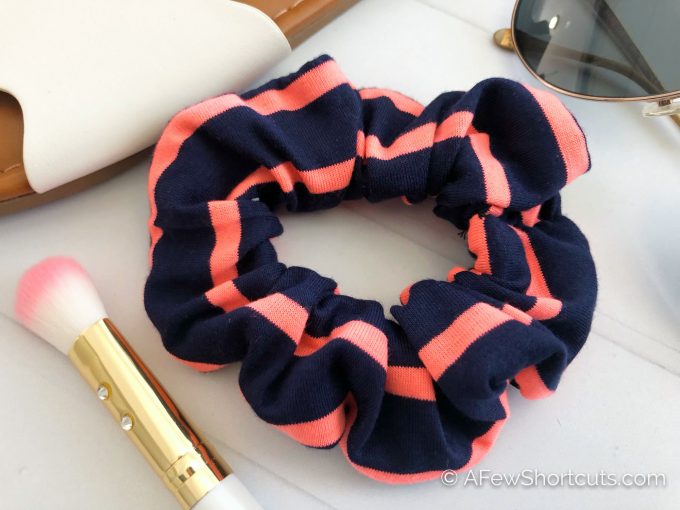
A super simple sewing DIY! Learn how to make a Scrunchie! You can create any color or pattern you want to tie up your hair.

Trends are so funny to me. Whoever decided that hair elastics were better than scrunchies was a crazy person. When I was in middle and high school you wouldn’t catch me without a scrunchie on my wrist…or in my hair! I am so excited that Scrunchies are making a comeback! This simple DIY sewing project will show you how to make a scrunchie so you can customize your own!
How to Make a Scrunchie
You will Need
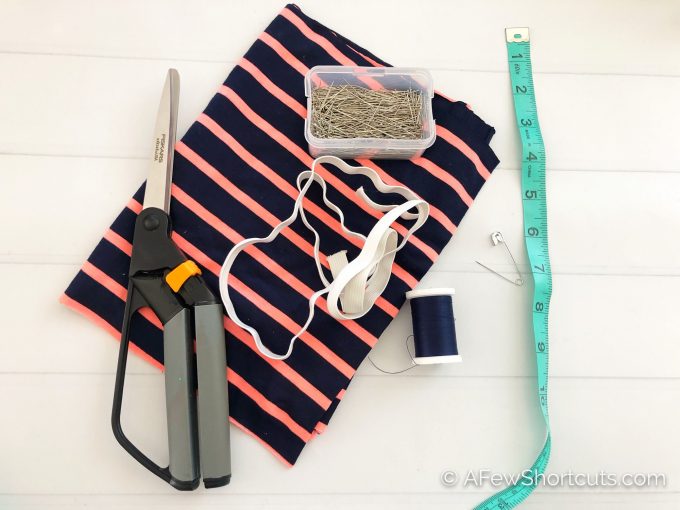
How to

1. Measure and cut a 4” x 22” piece of fabric.
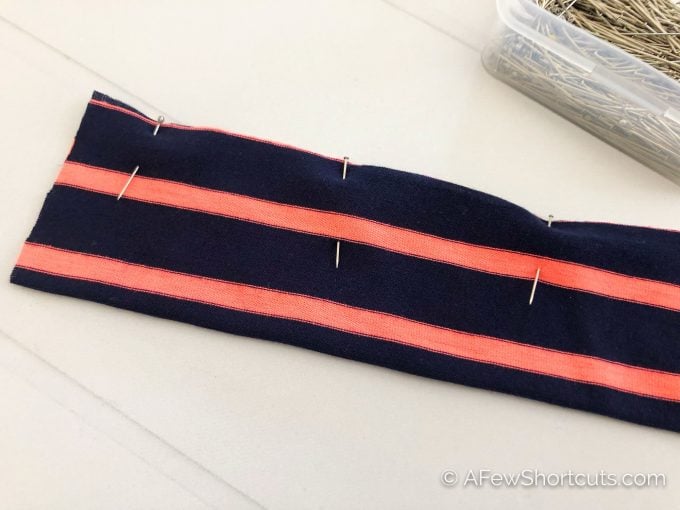
2. Fold your fabric strip in half lengthwise with the print sides facing each other.
3. Pin your fabric together if need be.
4. Sew along the raw edge length, leaving a 1/4” seam allowance.
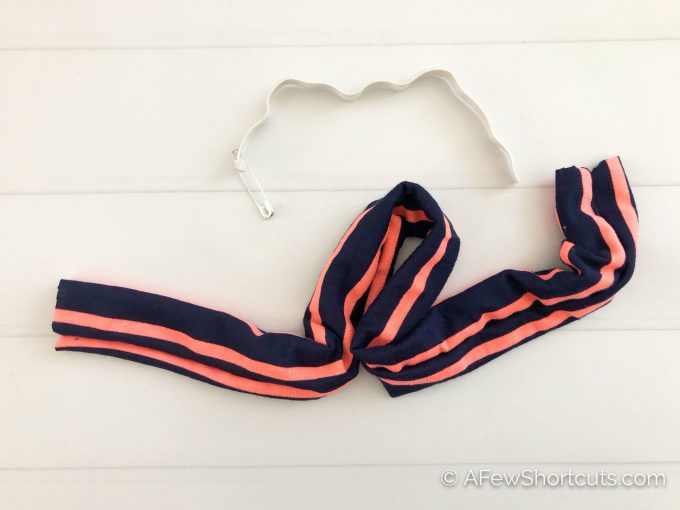
5. Turn the tube inside out using your fingers.
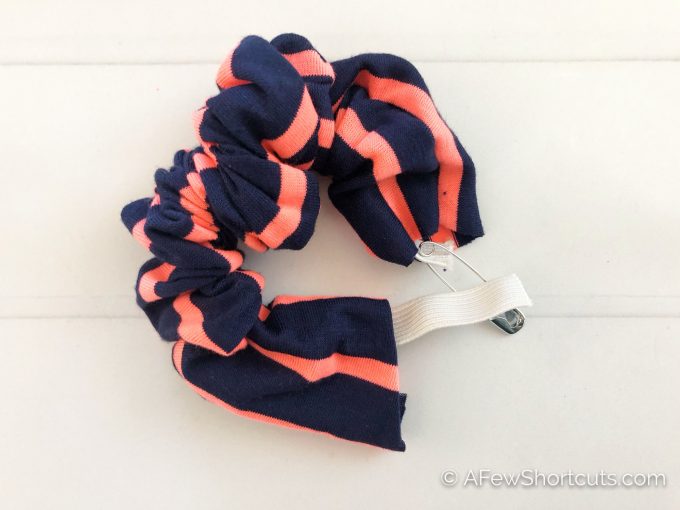
6. Measure and cut a 8” piece of elastic, attach a Bobby pin or safety pin at one end and slide through the tube holding the opposite end of elastic so it doesn’t slide through.
7. Pin and sew the two ends of elastic together.
8. Fold one end of your fabric inside the tube about 1/2” and tuck the unfolded end inside the tucked end.
9. Pin if need be, hand stitch or use a sewing machine to close the ends together.
Looking for more easy beauty DIY’s? Check out these Easy to Make Fizzy Bath Bombs. (Learn More Here)
Watch How to Make a Scrunchie