Easy Melted Pony Bead Ornaments – Kids Craft
A fun Christmas craft that the kids will love. Make these easy Melted Pony Bead Ornaments decorate your tree this year! 
Crafting with my kids during the holidays is one of the big things that makes it such a special time of year. It is also so much fun to decorate the tree with ornaments that they have made. My kids have a small tree for the office that they decorate with only handmade ornaments! It is so adorable. If you are looking for a fun and colorful craft for Christmas try these Easy Melted Pony Bead Ornaments! Everyone will have a blast!
I will start by saying that while this is listed as a kids craft, it will need adult supervision and help for some parts. Also, this craft involves melting plastic, so there is some odor. If you don’t want that in your house use a toaster oven outdoors. We did ours on the porch.
How to make Melted Pony Bead Ornaments

Line a baking pan or tray with aluminum foil and set out the cookie cutters you would like to use. We chose Christmas shapes, but you can do these for any holiday or season.
Let your child fill in the pony beads in a single layer. They can pick the colors, patterns, etc. The idea is to fill all available space with a bead. You can use a toothpick to help you place them or a pair of tweezers if you need them.
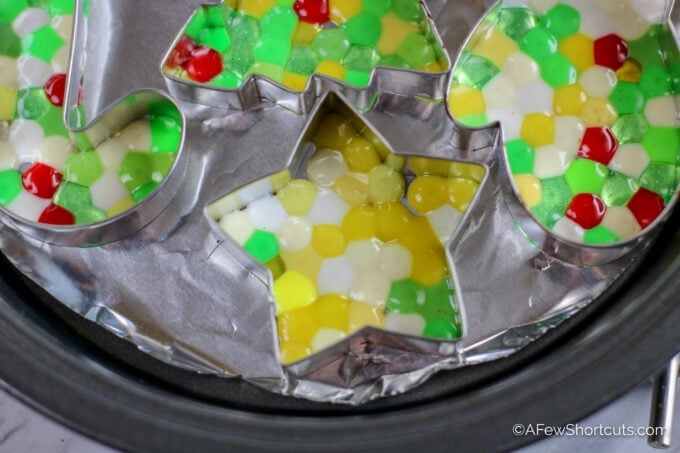
Carefully place your baking pan in a 400 degree F oven for about 10 minutes. Start checking them at 5 minutes and they could take as much as 15 minutes to melt properly. The ornaments are ready when there are no longer visible holes in the beads. This means they have melted together enough.
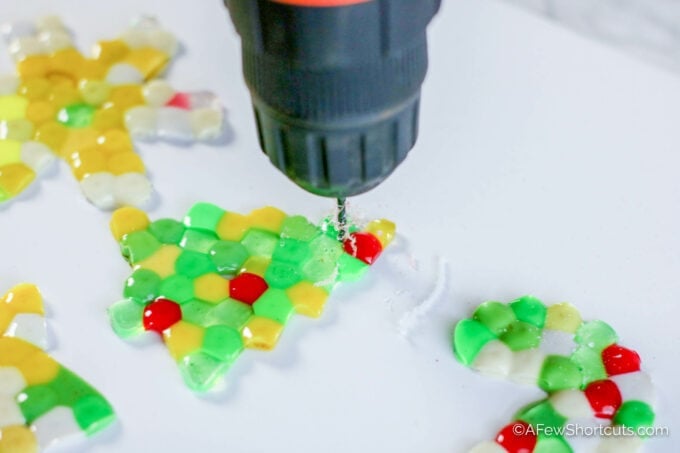
Allow them to completely cool in the pan. To remove gently pull the sides of the cookie-cutter away from the ornament. Use a drill to put a hole in the top of the ornament for wire or string to hang it by.
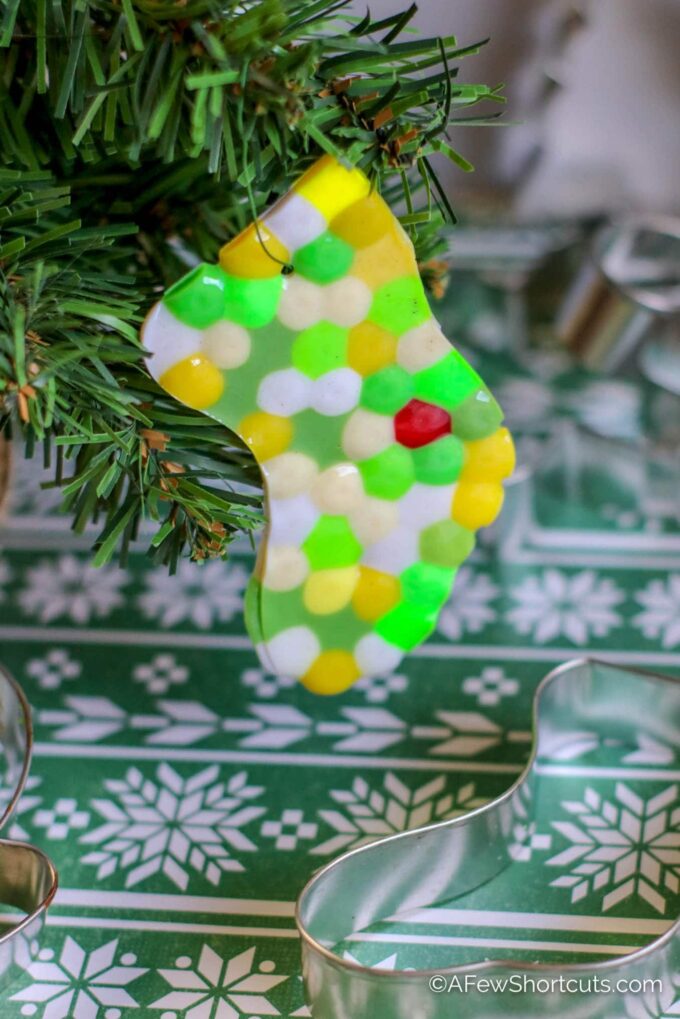
Just like that, you have a fun homemade ornament that is so much fun to hang on your tree!
Melted Bead Ornament Tips
Don’t want to use a cookie-cutter? No problem! – Use a silicone Muffin tin and make the design with the beads. Your ornament will be a circle but the pattern you make will contain a fun design.
Use a toaster oven – skip the big oven and make these right in a toaster oven (preferably outdoors) to avoid mess and smell in the house.
Use Floral Wire – When threading your ornaments to hang them use a piece of floral wire. It is much easier to thread through the hole and it will hold up a lot better. You can add a piece of ribbon to dress it up afterward.
Easy Melted Pony Bead Ornaments

Ingredients
- Plastic pony beads
- Metal cookie cutters
- Baking pan
- Aluminum foil
- Drill fitted with ⅛ inch drill bit
Instructions
- Preheat oven to 400 degrees.
- Line baking pan with aluminum foil to protect the pan and make it easier for the ornaments to release from the pan.
- Place cookie cutters on aluminum foil in baking pan. Fill each ornament with a single layer of beads. Use a toothpick or bamboo skewer to arrange the beads.
- Carefully put the baking sheet in the oven and melt the beads. The time can vary based on the type of bead. Begin checking at 5 minutes. (My ornaments took 15 minutes to melt.) The ornaments are ready when the beads are melted and the hole in each bead has disappeared.
- Remove from oven and allow to cool completely prior to removing from the cookie cutters. To remove the ornaments, gently pull the sides of the cookie cutter away from the ornament.
- Use the drill to create a small hole in each ornament for hanging.


