How to Make Sensory Bottles & Fun Theme Ideas
Get step by step instructions on how to Make Sensory Bottles & Fun Theme Ideas! These bottles are great for kids and have so many practical uses!

Sensory bottles and toys are all over the internet, but what are they? Find out more about them and learn all about How to Make A Sensory Bottle including a ton of fun theme ideas for when you create your own.
What is a Sensory Bottle
Sensory bottles can also be called discovery bottles, sensory jars, calm down jars, and I am sure many, many more! Whatever you call them they are containers that are filled with various materials that allow children to explore, discover, imagine, create, and learn while engaging their senses.
Sensory play is often thought of as messy, like when playing with moon dough or slime. These sensory bottles are a mess-free way that children can use their senses and investigate items with little hazard of choking or mess.
Sensory bottles come in many shapes, sizes, and themes, and can be used to keep a child busy or help them calm down.
How to use a Sensory Bottle
Sensory bottles are fun for kids because the control what is inside. Turning the bottle from side to side gives you a different result every time. Here are some fun ways they can be used.
- Fill a sensory bottle with a bunch of different shaped toys and sequins to create a hide-and-seek style game.
- Give a sensory bottle to a child to help them calm down. They can’t get up until all the items have floated to the bottom.
- Use a sensory bottle when you travel to keep your child’s attention and give them something to entertain themselves.
Sensory Bottle Theme Ideas

The best part about sensory bottles is you can make your own, and theme them however you choose. Get creative! There are so many ideas on Pinterest and online in general. You can fill them with almost anything. Here are some favorites.
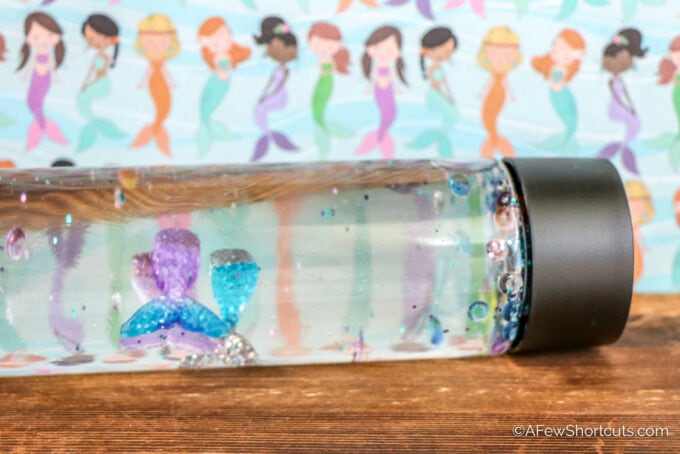
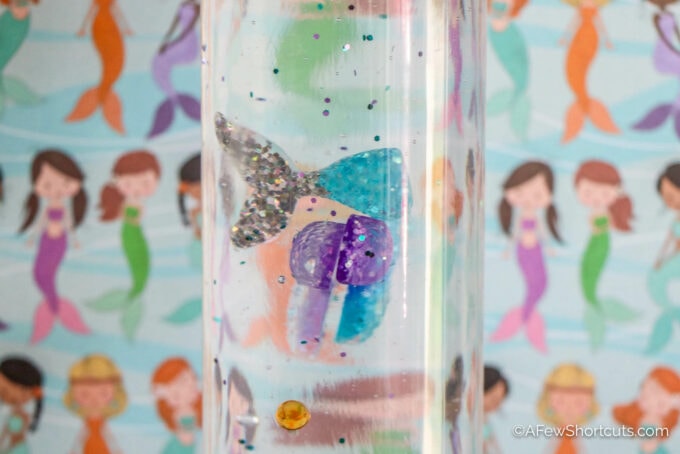
- Mermaid
- Lego
- Space
- Winter
- Alphabet
- glitter
How to Make Sensory Bottles

Gather your supplies. Many of them can be found easily on Amazon or at a local craft store like Michaels. You can even reuse an old water bottle, or they have the sensory bottles available on amazon.
Begin by adding a small bottle of clear glue to your sensory bottle followed with some warm water. Now comes the fun, add in your toys, glitter, sequins, alphabet beads, whatever you choose to use to fill your sensory bottle.
Add additional glue and or water to get your bottle moving at the right consistency. Screw on the lid and enjoy. It’s just that easy!
Sensory Bottles

Ingredients
- 16 oz plastic storage/sensory bottle
- 12 oz Clear Elmer's Glue
- 1 cup warm water
- 1 tbsp glitter if desired
- small Toys if desired
Instructions
- Empty one 6 oz bottle of glue into the sensory bottle.
- Fill the empty glue bottle about half full with warm water (about ¼ cup) and seal with the lid. Shake well to combine the remaining glue with the water. Pour into jar with glue and shake or stir to combine.
- If you are adding glitter or toys, add part of the glitter and toys into the glue mixture.
- Seal the jar and shake well. If the glitter or confetti does not move easily, add more warm water. If the glitter or confetti moves to quickly, add additional glue. Continuing adding in layers with the glitter and toys until you achieve your desired effect.
- When the contents of the bottle move according to your preference, seal the bottle and glue the lid closed to avoid spills.
- If desired, cover the lid with duct tape or additional decorations.